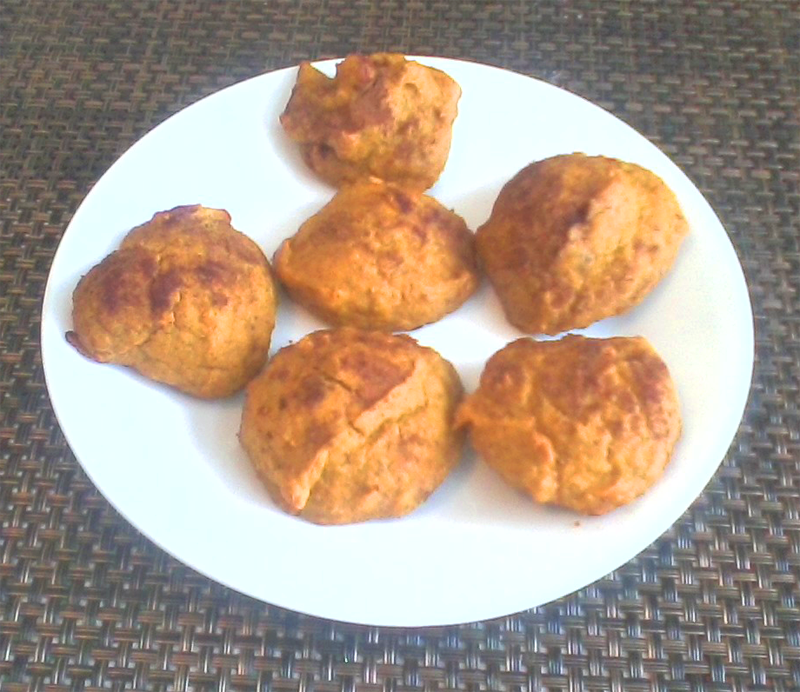
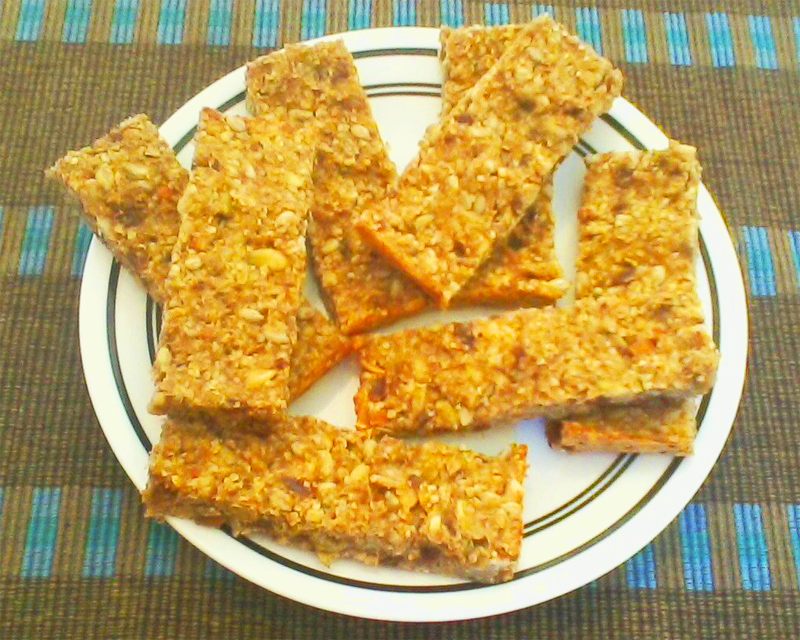
In a recent post I talked a bit about my constant search for diabetic granola bars that are relatively low in both calories and carbohydrates. They are a great snack in the middle of the afternoon, especially if my blood glucose is low. Trouble is, commercial bars are NOT low in calories or carbs. I made some recently that were an utter disaster as far as bars go. The recipe did not call for a “glue” so they came out simply as granola cereal. I divided it into half cup containers and ate it with a bit of soy milk just like any cereal when my sugar was low. And I kept up my search for a good granola bar recipe. I found one in my seemingly endless stash of recipes and cook books. They stick together beautifully, look really nice and taste delicious. When I made them I got 17 bars and, made my way, each bar has 167.1 calories and 17.9 grams of carbohydrates. I have never seen a commercial granola bar with counts that low. Here is the recipe I came up with:
Ingredients
- 3 medium/large bananas
- 1 tsp. pure vanilla extract
- 2 cups rolled oats
- 3/4 cup (12) dates, chopped
- 1 cup sliced almonds
- 1/2 cup sunflower seeds
- 1/2 cup pepitas (shelled pumpkin seeds)
- 1/4 cup hulled hemp seeds
- 1 tsp. cinnamon
- 1/4 tsp. pink Himalayan salt or sea salt
Directions
- Preheat the oven to 350 degrees. Lightly grease a large rectangular baking dish (9″X13″) and line with parchment paper.
- In large bowl, mash the bananas until smooth. Stir in the vanilla.
- Place the rolled oats into a food processor (or blender on lowest speed) and pulse until the oats are coarsely chopped, but still with lots of texture. Stir the oats into the banana mixture.
- Chop the nuts and dates and stir these and the remaining ingredients into the banana-oat mixture until thoroughly combined.
- Spoon mixture into prepared pan. Using a spatula, or your hands, press and smooth until well compacted and even.
- Bake for 25-27 minutes until firm and lightly golden along the edge. Allow to cool for about
10 minutes, then use a knife to loosen the ends. Very carefully lift out of the pan onto a cooling rack for another 10 or so minutes. I then put it in the freezer for 15 or so minutes (if you want you can just refrigerate over night). - Using a very sharp knife, or pizza cutter, or dicing tool, cut into bars. Once I had cut them, I put one each into snack size zip lock bags and stored in the freezer. As with all recipes, write down the calories and carbs in each ingredient. Once the product is made, divide the totals by the amount of product (cookies, granola bars, cups of food — whatever) to determine the calories and carbs in your own version of what you cooked.